Stuck with hair rut? If you’re tired of the messy bun, it’s time to upgrade your hairstyle skills. When it comes to hairstyles, you’ll never go wrong with buns. I am a big fan of hair buns since they’re very easy to do and creates this classy look. If you’re going out on a date, a night out with friends, a wedding, a formal event or if you’re a professional who needs to look her best at work, this elegant bun hair tutorial is perfect for you. Plus, you can do this in just 2 minutes!
The hair is one of the most important parts of the body as, to some extent, they reflect the personality of a person. However, some people neglect to focus on their hairstyles and concentrate more on their makeup. As a makeup artist, I truly believe that having great hairstyles add a lot to the overall look.
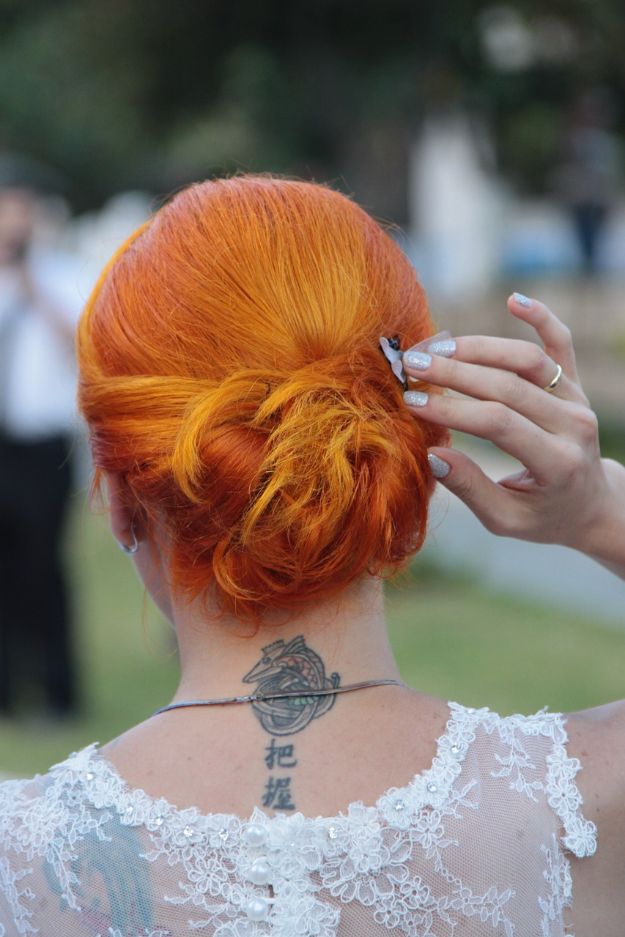
Elegant Bun Hair Tutorial In 2 Minutes!
Have you ever experienced waking up with your hair not going the way you want? No matter how you style it, it simply refuses to stay that way. I can feel your plight, ladies. I, for one, had so many bad hair days too. Sometimes, you’re left with no choice but to create a bun. Hair buns are very easy to do and they’re perfect for any occasion — whether a wedding, a date, night out with friends or just a day in the office. Thus, this elegant bun hair tutorial will help you create a classy look in just 2 minutes!
Elegant Bun Hair Tutorial:
Step 1: Apply Hair Wax Or Dry Shampoo
If your hair is hard to style, you’ll need to apply hair wax or dry shampoo. Lightly tease your hair so it will have the volume needed. I personally think that adding volume to the hair is important in creating updos. It adds up to the classy and elegant look of the hairstyle.
Step 2: Separate A Portion Of Hair On The Top
Get a portion of the hair on the top and use a clip to keep it in place. You’ll need this part later.
Step 3: Get A Portion From One Side
Get a smaller portion of hair from one side and put a clip to keep it in place.
Step 4: Tie The Remaining Hair Into A Low Ponytail
Get all the remaining hair and tie it into a low ponytail.

Step 5: Twist The Ponytail And Grab The End To Make A Bun
Lightly twist the ponytail. Grab the end of the ponytail and pull it upwards with your opposite hand. Wrap it around to form a bun. You’ll need bobby pins to keep the bun in place.

Step 6: Roll The Top Portion Of Hair And Secure It In The Bun
Get the crown portion of hair you’ve separated a while ago. Twist it toward the other side of the head and wrap it around the bun. Make sure you secure it in place.
Step 7: Twist The Remaining Portion Of Hair Toward The Bun
Get the remaining piece of hair on the side. Make sure you twist it directly above the ear and tightly pull it back toward the bun.
Step 8: Secure It Into The Bun
Loosen the twisted hair a bit and secure it into the bun with the use of bobby pins.
For the full elegant bun hair tutorial, here’s the video by MakeupWearables Hairstyles:
Will you try this elegant bun hair tutorial? Share your thoughts in the comments below! You can also try these homecoming dance hairstyles.