It’s back to school time and there’s no better way to greet the new school year with a simple, yet beautiful back to school makeup look! Want to learn how? We’ve got the steps right here!
Easy Back To School Makeup Tutorial
This is a brand new year to learn and meet new friends. But before school starts, do some preparation by experimenting on new back to school makeup looks. It always pays off to be ready, right? It’s more than just making heads turn, but it’s also about giving you a confidence boost! Keep your beauty game on point with this back to school makeup look and nail your everyday outfits effortlessly!
What You’ll Need:
- The Body Shop Vitamin C Moisturiser
- L’Oreal Infallible Mattifying Base
- Olay CC Cream – Medium to Deep
- Collection Lasting Perfection Concealer – Light
- Soap & Glory Kick Ass Powder
- Rimmel Stay Matte Powder
- L’Oreal Glam Bronze – 06
- Natural Collection Eyeshadow – Crushed Walnut
- L’Oreal Le Blush 160
- Soap & Glory Archery – Hot Chocolate
- The Body Shop Brow & Lash Gel
- Maybelline Eyeshadow – Lustrous Beige
- L’Oreal Miss Manga Mascara
- Rimmel Nude Eyeliner
- Kiko Intensely Lavish Lip Liner – 01 Lusty Peony
- NYX Butter Gloss – Creme Brulee
Note: These products are based on the tutorial, but you are free to choose whichever brand you like. I just want to give you the exact name of the products so you’ll know how it worked out in this tutorial.
Step 1: Prep the face.
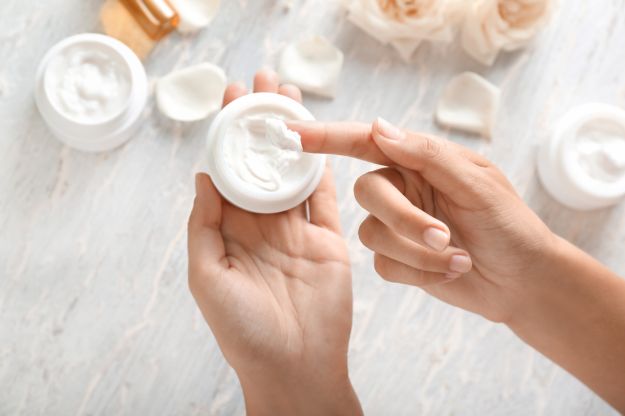
Since this is a light, natural, and glowy makeup look, you’d want to take time prepping the skin. You won’t be using foundation so you should create a smooth canvas to work with.
First off, you need to moisturize. As I always say, this step is very important. You should always make sure you hydrate your skin all the time. This will get rid of any dry patches and will prevent the appearance of premature signs of aging like wrinkles and fine lines. You also want to look fresh!
Apart from your moisturizer, using a mattifying base would make your skin look shine-free throughout the day. Apply this to areas which tend to be oily, like your cheeks, chin, and forehead. This will also help the makeup last the whole day.
Apply the Olay CC Cream or any other CC or BB cream you like, with the use of a beauty blender. Remember that you are trying to achieve a youthful glow so going heavy with your base makeup is a big no-no!
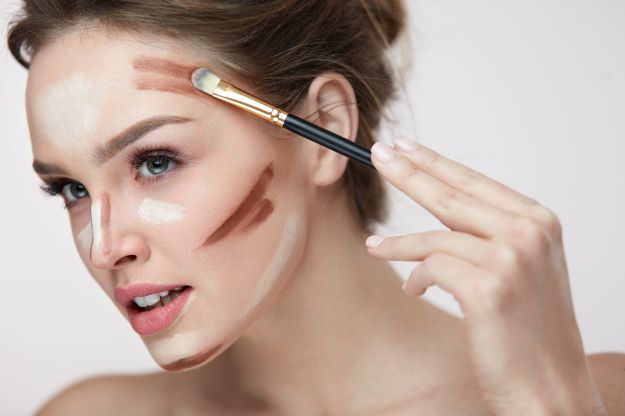
Step 2: Conceal and Set.
Well, this is one way to apply your concealer. Create three lines under your eye and with the remaining cream on the applicator, apply the concealer to other areas of the face such as the forehead, nose, chin and sides of the mouth, this process creates a highlight and a lifting effect to your face. Blend it all in with your beauty blender.
With the Soap & Glory Kick Ass Powder or any other powder of your choice, set all the areas where you placed your concealer, you don’t want it to be cakey right? Set the rest of your face with the Rimmel Stay Matte Powder, again you can opt to use any other brand you want. Although, I particularly love the Rimmel Stay Matte Powder because it leaves a super tiny tint on the face but it never cakes on me.
Step 3: Contour and Blush.
Dust your face with your bronzer and darken your shading with the Natural Collection Eyeshadow. Use a clean brush and blend everything together. You want to provide warmth to your face.
Dab your blush on the apples of your cheeks to give it a bit of color. Choose shades with a warmer glow to it or those with a little sheen, remember sheen, not shimmer.
Step 4: Work on those brows.
With the use of your Soap & Glory Archery – Hot Chocolate, brush your eyebrows and fill them up. If you have naturally thick eyebrows, this may take only a short period of time. However, for those with thin brows, it may take time before you can fill them up.
Use the brow and lash gel to keep the hair in place. This will let your brows last the whole day too.
Step 5: Apply eye makeup.
With the use of a light-colored eyeshadow, make your eyes glow by dabbing a little on the inner corner. And then apply your mascara on both the upper and lower lashes. Make sure you curl your lashes first before applying your mascara. This will accentuate your eyes without applying too much makeup. Use a nude eyeliner on your lower eye line to make your eyes brighter.
Step 6: Line and Gloss.
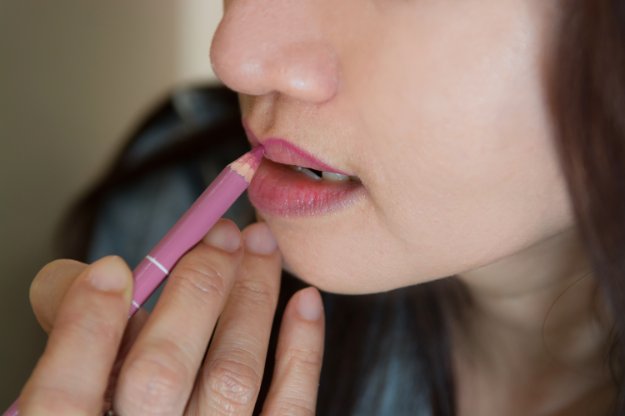
Apply your lipliner to add shape to your lips. Fill them up with your favorite shade of lip gloss. For back to school look, I recommend using nude or light pink shades. These shades will make you look more youthful and fresh!
I say, party hard, study harder! Doesn’t this organized and clutter-free desk give you positive study vibes?
https://www.instagram.com/p/BUHFRi0gnBE/?taken-by=diyprojectsdotcom
If you want to watch the full tutorial, watch below:
While I’m definitely not returning to any school campus soon, I know that this back to school makeup look is a big winner! It’s a light, natural, everyday look and I’m sure your teachers will like it too. But at the same time, you look effortlessly put together and not look like your mom dragged you out of bed to go to school. Plus, it’s very easy to do especially if you’re running late in the morning.
Do you like this back to school makeup look? Share us your thoughts in the comments section below!
Still a makeup beginner? Know what goes first and next with this Proper Makeup Routine Guide | What Goes First?!
Follow us on Facebook, Twitter, Instagram, and Pinterest for the latest makeup, hair, and nail trends!
Editor’s Note – This post was originally published in September 2016 and has been updated for quality and relevancy.