Wondering if a smokey eyeshadow tutorial suits your hooded eyes? Well, of course! Get your hooded eyes looking glam and chic. Learn the basics in 10 minutes with this smokey eyeshadow tutorial!
I know I included a smokey eyeshadow tutorial in this article about trends that need to go. I actually got quite a few reactions in my mail about it (teehee). There’s some dissent, which is fine, as people will surely have different opinions about something. The good thing is that the e-mails sounded friendly. To be clear, I don’t hate smokey makeup, but I am open to trying out new kinds of eye makeup for this year. I hope I get to share them with you anytime soon. In the meantime, I’ll pay homage to one of the most classic eye makeup looks with this smokey eyeshadow tutorial for hooded eyes from Carli Bybel.
Fast Smokey Eyeshadow Tutorial For Hooded Eyes
For the past few weeks, I’ve been getting some requests on a smokey eyeshadow tutorial for hooded eyes, and, well, this is it.  This smokey eyeshadow tutorial is super easy and fast you’ll learn all the techniques you need in 10 minutes! Not only that, this gets you prepared for the summer look. As you know, it’s never too early to be excited for the warm sun and the beach. But before we get into the tutorial itself, let’s talk about hooded eyes for a sec.
What Are Hooded Eyes?
Hooded eyes have an extra fold of skin on their eyes, specifically on the brow bone. This prevents the crease from being visible when the eyes are open. There are actually a lot of eye shapes – some big, some small. Some have clear creases while others don’t. An easy way to check if you have hooded eyes is to look yourself straight in the mirror: if you can’t see your crease or only a part of it, and you see mostly lashes, then there’s a good chance you have hooded eyes.
Hooded eyes are pretty common. Although some women have them since birth, they can also develop it over time. When you age, your skin starts to lose its elasticity, so it begins to sag. Moreover, depending on how big the fold the is, the eyes can appear droopy, which also makes the eyes look tired and smaller. You can go through surgery to make your eyes appear bigger… OR just learn the right makeup technique with this smokey eyeshadow tutorial. 
What You Need For Hooded Eyes
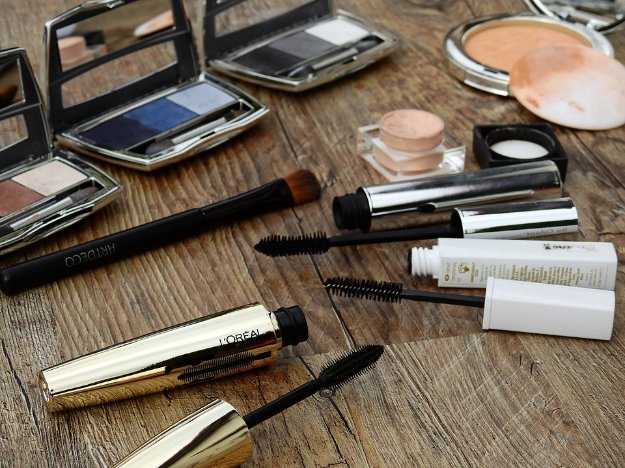
- Concealer (I recommend this)
- BH Day & Night Eyeshadow Palette
- Brushes (I recommend this)
- Liquid Eyeliner (I recommend this)
- L’Oreal Telescopic Mascara
- False Eyelashes (I recommend this)
1. Start with the upper eyelids
The first thing you need to do is to prime your eyelids to make sure your eye makeup sticks properly. You can use a concealer like the L’Oreal Paris True Match Super-Blendable Concealer since it’s easy to work with.
Using the light pink colors of your BH Day & Night Eyeshadow Palette, illuminate the eyes by applying them on the upper eyelids toward your tear ducts and a bit underneath the brows. (You can actually use your own eyeshadow palette. Just find the colors closest to these.)
Note: Remember to put light colors towards the inner corner and darker colors towards the outer corner. This technique lifts up your eye and makes it look bigger. Also, don’t stress too much on your inner eyelids, as there’s a good chance they won’t be visible enough because of your hooded eyes.
2. Create the smoky effect
Now your eyes are primed and eyelids are done, it’s time to put on that smokey makeup. Start with a dark gray eyeshadow. Using your eyeshadow brush, apply it from your upper, outer eyelid up to the center of the lids. If you’re wondering why, again, we don’t want to create really dark lines to avoid making the eyes look smaller.
Blend the dark gray color towards the brows. This technique is important. Hooded eyes can look droopy, so you want to create the illusion of beautifully opened eyes by dragging the dark makeup upward.
Apply light beige colors on your dark gray eyeshadow makeup to lighten the dark colors and make them blend together seamlessly.
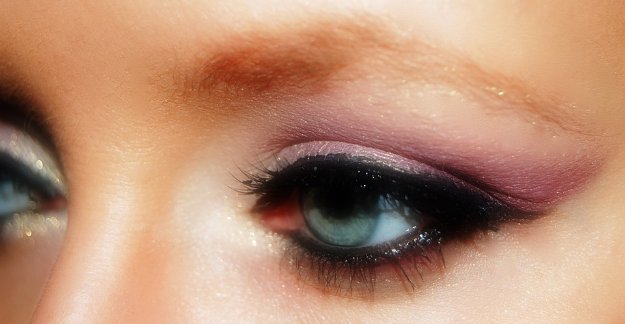
For a sultrier, darker makeup look, dab the darkest eyeshadow color on the corner of the eyes. Extend them a bit outward and upward to make your eyes pop.
Finish the smokey eyeshadow tutorial with a liquid eyeliner like Maybelline New York Ultra Liquid Eyeliner. Now, pay attention to how you create the winged effect. A poorly done wing can make your eyes appear smaller too, so you don’t want to drag it too far outside the crease of your eyes. Also, when using your eyeliner, apply it thinly, close to the lash line towards the outer corner to create a lifted effect.
3. Attach your false eyelashes
You can actually end our smokey eyeshadow tutorial for hooded eyes in step #2. (See, I told you it’s going to be very quick.) But this step is also important for one good reason: the eyelashes are the most prominent for women with hooded eyes. So you should make the most out of them, right?
If you have really beautiful, long, and luscious eyelashes, skip using false eyelashes. Natural is and will always be better. However, if they need a bit of help, don’t be afraid to use falsies. Try Voberry False Eyelashes. To know how to attach it, here’s a tutorial for you.
To make your eyelashes more open and standing upward, apply a mascara. Since these are the upper eyelashes, consider two to three coats to emphasize them.
We’re almost nearing the end of this tutorial. Hurray! Okay, I’m going to let you stretch those arms, check your eyeshadow makeup, and get rid of those excess colors with your wipes. Done? Then let’s go back.
4. Finish with your lower lash line
Line your inner lower lash with light blue colors from your eyeshadow palette to add more brightness to your eyes while complementing the light pink shades you used a while ago. Move from the innermost part toward the center of your lower lash line.
To harmonize the makeup colors of the upper and lower parts of your eyes, use the same dark gray color and apply it from the outside toward the center of your lower lash line.
Finish the makeup with a coat of mascara. You don’t want this to be thick or your eyelashes will appear heavy.
Grab your brush and blend the colors nicely. Concentrate especially on the darkest parts of your eyes as they have the tendency to appear uneven.
And . . . tah da! you’re done!
For the full smokey eye makeup tutorial for hooded eyes, you better watch this:
Wasn’t that smokey eyeshadow tutorial quick? You don’t have to complicate life! If you have hooded eyes, then do this amazing smokey eye makeup tutorial!
How do you find the smokey eyeshadow tutorial for hooded eyes? Was it easy for you? Let me know in the comments below. For another neat trick to making your eyes appear bigger, check this out.
Follow our Facebook, Twitter, Instagram, and Pinterest accounts to get the latest makeup, hair and nail trends!
