Ladies, I’ve got a Margot Robbie makeup tutorial to share! It’s quick, super simple, and it’ll leave you absolutely smoking!
Try this Margot Robbie Makeup Look For A Natural Celebrity Look
I’ve been a fan of Margot Robbie makeup ever since I saw her on Wolf of Wall Street. She was such a stunner then and still continues to be enchanting both on and off the red carpet. Aside from her role as the sassy Harley Quinn, one of the things I’ve really loved is her go to look when it comes to putting on makeup. So today, I’ve got a little treat just for you!
While searching for Margot Robbie makeup looks to try, I’ve noticed one thing: she loves to keep things simple. Here’s a makeup tutorial so you can achieve that look too!
What You’ll Need for the Margot Robbie Makeup Look:
- Foundation (I recommend this!)
- Concealer (Try this!)
- RCMA No Color Powder
- Nyx Blush in Taupe
- Contour and Highlight Palette (I recommend this!)
- Eye Primer (Try this!)
- Eyeshadow Palette (Love this!)
- Essence Mascara
- Brow Pencil (I recommend this!)
- Brow Gel (Try this!)
- Nyx Matte Lipstick in Merlot
Want to try the Margot Robbie makeup look? Keep on reading below!
Step 1: Secure Flawless Foundation
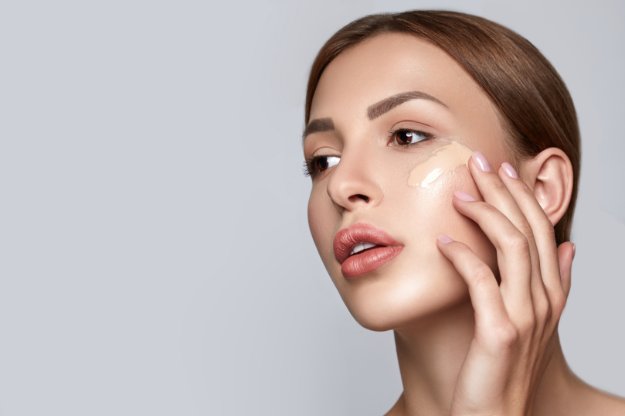
Achieve a flawless finish by blending in your foundation. You can choose to use either your fingers, a synthetic brush, or a Beauty Blender, the choice is up to you. Personally, I’ve found that Beauty Blenders help give a smoother finish to the makeup and they “pound” the pigments better to the skin so it stays longer.
Step 2: Blend Concealer
Brighten up the under eye area with your favorite concealer, something that doesn’t crease and give ample coverage. It’s time to hide those panda eyes, ladies.
Step 3: Apply Setting Powder
Before you apply your setting powder, make sure that you remove all the creases left over from your foundation and concealer. Also be sure that you don’t swipe your powder puff across your skin so it doesn’t move the products you just applied. Choose to press the puff into the skin instead.
One of the greatest brands when it comes to setting powders is from RCMA because it’s colorless, loved by makeup artists around the world, and way more affordable than most brands.
Step 4: Contour Nose
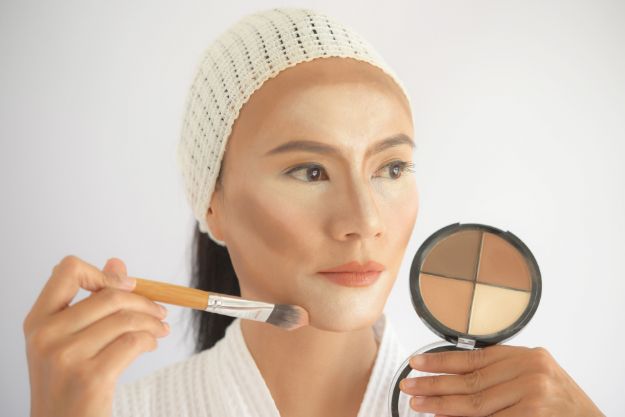
Margot has a thin nose, to achieve this look you’d need the help of both dark and light colored powders. Try and recreate your nose’s bone structure by lightly tracing two lines on the side of the bridge of your nose with your go-contour product/s — this creates the shadow for your nose. Don’t forget to blend the powder into the skin to avoid any harsh lines.
Once you’re finished, blend the lighter powder in on the sides. Voila! You now have a slimmer and sharper nose.
Step 5: Contour Face & Jawline
Don’t forget to contour your face and jawline. Trust me, ladies, this is one of the things I would never ever remove from my makeup routine.
Step 6: Apply Bronzer
Warm up your face by applying a bit of bronzer on your temple and cheekbone area to warm up the face, it also contours the face slightly. But don’t mistake your bronzer powder as you contour powder like most women do! Bronzing requires warm brows while contouring calls for cool-toned browns.
Step 7: Dust on Some Blush
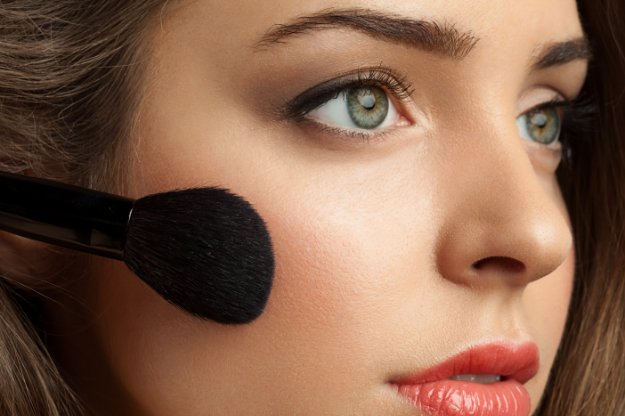
Margot’s cheeks look rosy pink, so oblige yourself a few dabs of your favorite pink shade on the apples of your cheeks. If you have a rounder face shape , extend the blush color up to your temples for an elongated face.
Step 8: Natural Eyebrows
The trick to making thin brows a little bit thicker is an eyebrow pencil. Since Margot’s brows don’t look super snatched, make tiny feather-like strokes on your brows and be careful not to press too hard. Once you’re done, finish them off with a swipe or two of brow gel, one of my fave brow techniques ever, to keep the strands in place.
Step 9: Super Easy Eye Makeup
Dab on a bit of primer first so that the eyeshadow will have something to stick to. Then pick a soft brown shade and start blending on your crease going out. It’s good to apply on your lower lash line as well to balance the top with the bottom.
If you’re having trouble blending the eyeshadow on its own, you can also blend in a lighter shade on top.
Step 10: Swipe on Mascara
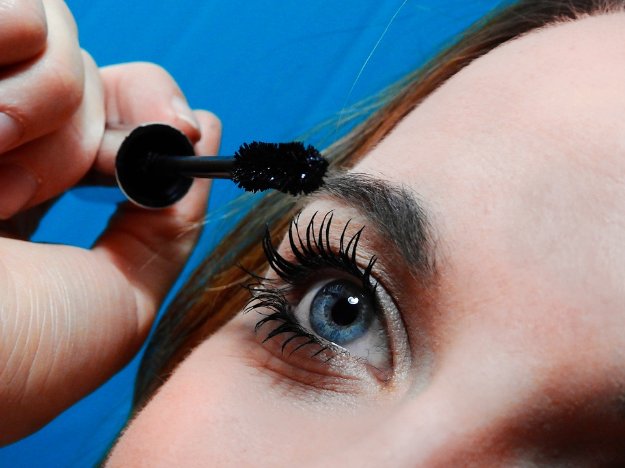
I’d suggest skipping the falsies since we’re going for a natural look. Oh, but don’t forget to apply mascara on the lower lashes.
If you’ve got hooded eyes, make sure that you don’t skip this step. The longer and fuller your lashes are, the less visible your hood is going to be.
Step 11: Lipstick Time
Margot has a smaller upper lip so it’d be good to try and recreate the shape on yours as well. Swipe on your favorite bright lippie and you’re good to go!
Want to watch the full tutorial? Press play!
There you go, ladies! I do hope you’ve enjoyed this Margot Robbie makeup tutorial and that you slay your makeup look for the day.
I wonder which celebrity makeup I should feature next. Do you have any suggestions? Send them over to our Facebook, Instagram, and Twitter! I’d love to hear from you!
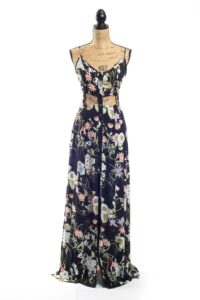
Complement today’s makeup look with this stunning maxi dress from Mason and Ivy!
Looking for a blush color to suit fair skin? Read this.
