Are you looking for an awesome organic lotion recipe? You’ve come to the right place! Learn how to do this DIY organic lotion that is both refreshing and moisturizing!
DIY Organic Lotion Recipe to Moisturize the Skin
When it comes to our skin, we just cannot gamble. Despite what commercially sold lotions promise, you really can’t guarantee that you’re not putting harmful chemicals on your skin. The only way to have peace of mind is to make your own organic lotion. Fortunately, making a DIY organic lotion is very easy. What I also love about this recipe is you can alter the ingredients to your liking or personalize the ingredients to your skincare regimen. Are you ready? I am! Let’s start!
What You’ll Need:
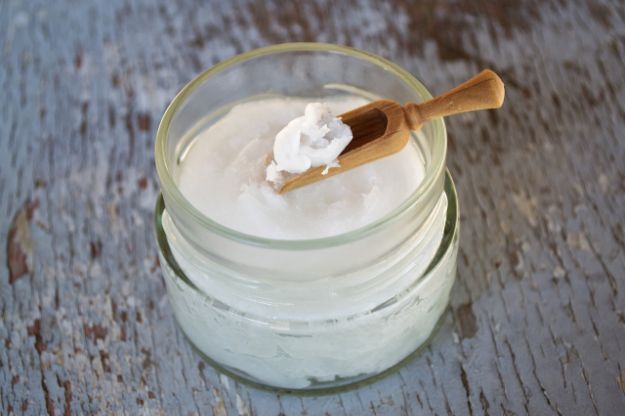
- 2-4 tbsp Organic Coconut Oil
- 4 oz natural butter
- Pumpkin Pie Spice
- Caramel Apple Fragrance Oil
- Pyrex container
- Old lotion container
Step 1: Heat water in a pan.
You will be melting your mixture later on. Thus, it is best to start with heating water in a pan first to get it boiling as soon as you’re done with the mixture.
Step 2: Put butter.
The butter will be the key ingredient in this moisturizing organic lotion. You may choose from different types of natural butter like Almond, Shea, Mango, or Cocoa. You need 4 oz. of butter in total.
Step 3: Add the coconut oil.

Pour the coconut oil into the butter. The amount of coconut oil will ultimately depend on the type of butter you will use. For butter that has a low melting temperature, you should use less coconut oil. For this recipe, you can adjust the coconut oil between 2-4 tbsp.
Step 4: Melt the mixture.
Mix the mixture a bit and then put the Pyrex container in the middle of your pan with boiling water. Wait for the mixture to completely melt.
Step 5: Pour melted mixture into mixing bowl.
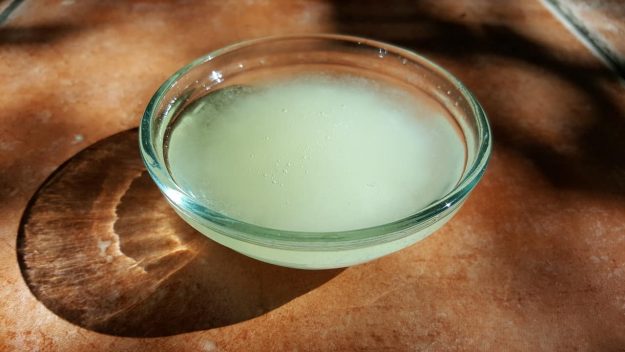
Once the mixture is completely melted and looks like the photo above, you can take it out of the pan and then pour it into a mixing bowl.
Step 6: Add the flavor and fragrance.

If you’re following this tutorial to the tee, put 1/2 tsp. of Pumpkin Pie spice into the melted mixture. On the other hand, if you want to use a different scent, just make sure to use the same measurement.
Now add 1/2 tsp. of caramel fragrance oil as well. Mix everything thoroughly.
Step 7: Let it set.
Let the mixture set for around 30 minutes or so. Wait for until to achieve a cloudy consistency.
Step 8: Whip it.
Using a mixer, whip the mixture to achieve an airy consistency. Once you see that it looks like whipped cream, the lotion is all set for use!
Step 9: Transfer lotion into the container..

Using a clean spatula or spoon, transfer the whipped lotion into a container of your choice.
Now, look at that creamy lotion ladies! Don’t you just want to apply that all over your body already?
Check out the full video from Ann Le here:
Just talking about this DIY organic lotion recipe makes me hungry! But anyway, that’s one of the benefits of whipping your own organic lotion–you get to personalize it to your own preferences. Oh and by the way, before I forget, since this is an organic recipe, the lotion can last you two months max. However, I suggest you make a new batch every month, just to keep your lotion fresh. Making a large batch of the organic lotion isn’t recommended unless you plan to give it your friends and relatives…or me? haha, I hope you enjoyed this one and looking forward to more DIY skincare recipes to share with you soon!
Do you have another flavor in mind? Tell us, which flavor and fragrance do you plan to use for this organic lotion recipe? Let us know in the comments section below!
Do you have dry skin? Maybe these Dry Skin Remedies | Cheap & Effective Homemade Skincare Solutions can help you!
Follow us on Facebook, Twitter, Instagram, and Pinterest for the latest makeup, hair and nail trends!